Build your blog with GitHub Pages for FREE

I tried multiple times to create a blog and publish things constantly but I failed each time. I usually started with a lot of enthusiasm but the tools used to create and publish content, always were boring and tedious for me to don’t say complex. I tried WordPress because everyone says it’s the best CMS but It’s overwhelming the number of pluggings, configurations, deployment, and so on, it’s overkill for a simple blog like this one.
I also tried Tumblr but I never thought about it as a platform to publish tutorials or reference content.
Medium, I never tried it because before publishing anything I read how it worked and found some issues in the terms and conditions so I left it (however I read frequently there).
So, this is the first step in my journey to finally create a blog where I can REALLY work constantly and keep it up to date, but why do I think this is the right way to keep the pace? Because I’m a developer who works every day with Git and tools like Hugo or Jekyll bring the opportunity to create a blog (static website) just writing in markdown to publish my ideas.
What could be better than writing your thoughts without worries for:
- CSS styles
- Databases for your posts
- Performance issues
- Annoying emails from your CMS provider promoting anything
- Complexities or errors for plugin conflicts
- A lot of other headaches you can avoid just keeping it simple.
For me simple is just:
- A static website (The best performance if you don’t abuse)
- Simple versioning (Git and GitHub are the best for that)
- Avoid distractions: Markdown is the best for this one also, because you don’t care for presentation, just for the content.
Of course, you can also get a great look & feel using some free templates and a static site generator like Hugo or Jekyll but it’s up to you.
Tools used
- GitHub
- Hugo: Static site generator
Requirements:
- Git (Installed and basic knowledge)
- Homebrew (My package manager in OSX)
Step 1: Hugo Configuration
- Using
brewin Mac OSX is the easiest way for me to install Hugo
$ brew install hugo - Check installation:
$ hugo version - Create a new site:
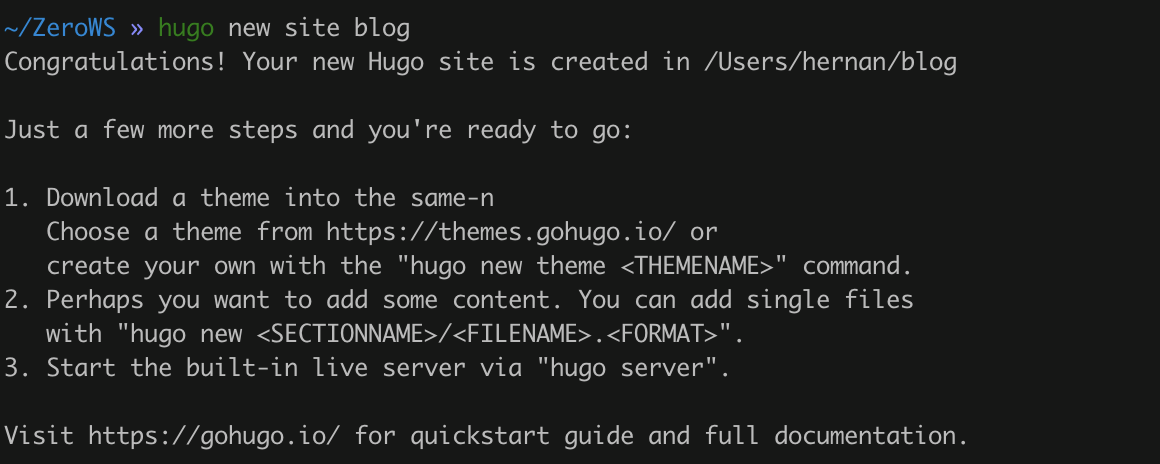
$ hugo new site blog
![Hugo install logs /posts/free-blog-platform/images/hugoInstall.png]()
- Go inside the new folder:
$ cd blog - Init the SCM:
$ git init - Import a theme for the blog: You can download themes as zip files for simplicity and copy them in the
themesfolder, however, I’ll maintain a copy of each theme repository as a git submodule to keep it up to date.
$ git submodule add https://github.com/budparr/gohugo-theme-ananke.git themes/ananke
Step 2: Adding content
-
Now you can create your first post:
$ hugo new post/0001-my-first-post.md
This will create a new file inside the foldercontent/postswith the following information:--- title: "0001 My First Post" date: 2020-08-21T12:40:58-05:00 draft: true --- -
Now we are going to start the Hugo server just to test our changes:
$ hugo server -D
The terminal should looks similar to| EN -------------------+----- Pages | 10 Paginator pages | 0 Non-page files | 0 Static files | 6 Processed images | 0 Aliases | 1 Sitemaps | 1 Cleaned | 0 Built in 69 ms Watching for changes in <YOUR_BLOG_PARENT_PATH>/blog/{archetypes,content,data,layouts,static,themes} Watching for config changes in <YOUR_BLOG_PARENT_PATH>/blog/config.toml Environment: "development" Serving pages from memory Running in Fast Render Mode. For full rebuilds on change: hugo server --disableFastRender Web Server is available at http://localhost:1313/ (bind address 127.0.0.1) Press Ctrl+C to stop -
Open your browser on
http://localhost:1313/posts/0001-my-first-post/and check the site built. Your site should look like
![Expected Template /posts/free-blog-platform/images/tmp2.png]()
However, I got a different one but either way it worked.
![Current Template /posts/free-blog-platform/images/tmp.png]()
-
If you are confortable with the results, you can build your site to create the static resources:
$ hugo -D(Build your draft post and output by default on./public/)
$ hugo -D --destination OUTPUT_PATH(Build your drafts and output to the given path)
Step 3: Publishing on GitHub Pages
If you follow the previous steps you already have a working static site. These static resources are the ones required by GitHub to publish for FREE, so let’s publish our blog.
- GitHub configuration:
- Create your GitHub account if you don’t have one
- Create a git repository with the name
<YOUR_GIT_USENAME>.github.io. GitHub by default watch for static html files in this repository (just in the master branch) and deploy them as a web site. For more information go to GitHub Pages.
- Include your git user repository as a submodule of the blog repository (This step is just to be easier to publish your static content directly in your public site, however, you can do that just copying the info directly inside it):
$ rm -rf public #Delete the `public` folder if you already have one $ git submodule add -b master https://github.com/<YOUR_GIT_USENAME>/<YOUR_GIT_USENAME>.github.io.git public #Link the public folder to the public repo (GitHub Pages) - Open the config file
blog/config.tomland change or add the property to include the real value (This allows your site to find the resources):
baseurl = "https://<YOUR_GIT_USENAME>.github.io/" - Now you can build your site:
$ hugo #This builds just your public posts wthout drafts - With the static site built, now you can add and push the content to the public repository:
$ cd public
$ git add .
$ git commit -m "Some nice message here"
$ git push origin master# This push your changes to the public repo - Open your browser at
https://<YOUR_GIT_USENAME>.github.io(wait a little bit an refresh to see your FREE blog live)
Congrats !!!
Now you have your website/blog deployed and publicly available for FREE
Thanks to GitHub Pages.


